MAKE your own beeswax wraps
They’re one of those useful objects that are so tricky to find in simple, natural colours, so I decided to make my own, and soon discovered they are very easy to make.
Whether for yourself, or as a useful, thoughtful gift, these are a quick and very forgiving project.
Here, I share with you two ways to make these wraps.
The first is a ‘recipe’ which creates a good quality, sticky wrap similar to that you’d buy in a supermarket. This requires a few tools and some ingredients you’re unlikely to have in your home, so will need to buy online.
The second is a simplified version, they still create useable wraps, but you’ll notice they’re not quite as malleable, and more like the ones you might find at local craft markets and the like. They’re still brilliantly useful and you’re likely to have access to everything you need in your cupboards. So, perhaps this is a good starting point if you just want to have a go, before committing.
A DIY guide to making beeswax wraps
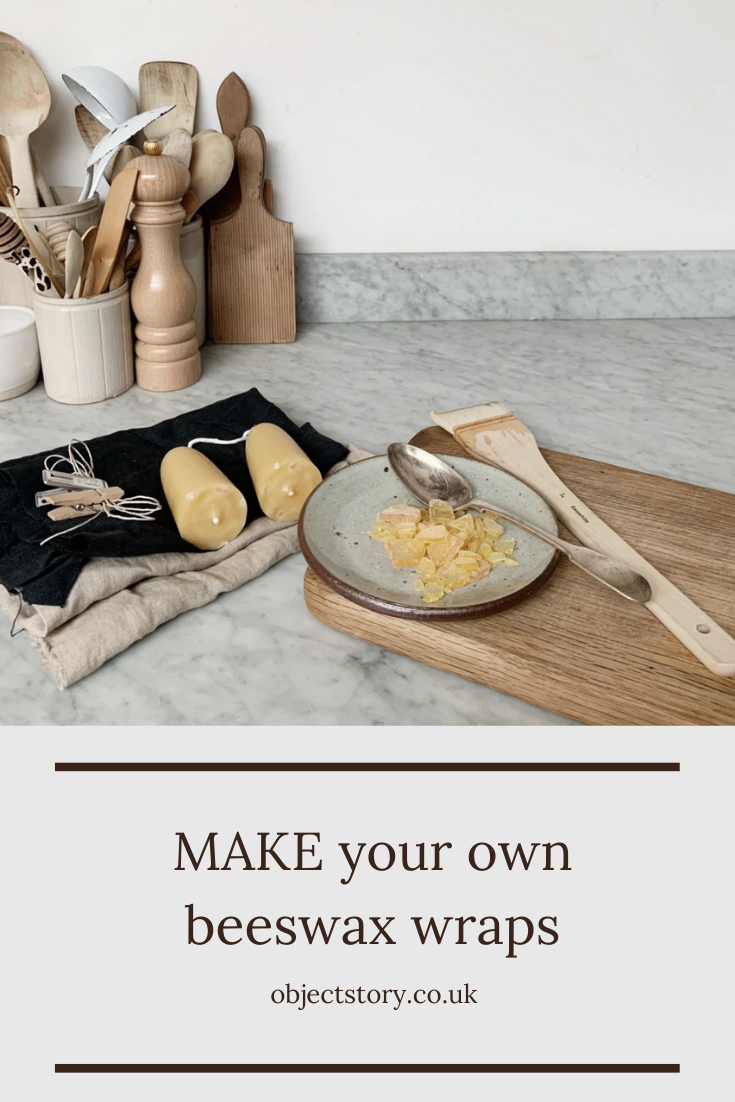
Here’s what you’ll need
~ fabric, linen or cotton, I've used scraps of Merchant & Mills linen
~ beeswax, either candles or in pellets or blocks
~ jojoba oil, ideally organic
Tools
~ pinking shears, or just regular fabric scissors will do
~ grater
~ pastry brush or paint brush*
~ large pan
~ small pan* or heatproof bowl*, or you can use an empty tin can
~ baking paper
~ clothes pegs and some string
~ large baking tray
*these tools will be very difficult to clean, so will forever be your beeswax tools - you can use these to make more wraps in the future, poured candles or tapered candles (another tutorial in the future, perhaps?)

-
Cut your fabric
Using pinking shears helps to stop the fabric from fraying. I've suggested some sizes to create a pack of three, but if you're using scraps of fabric, cut to whichever size works. Be aware that these need to lay flat in your baking tray, so that may guide the sizes you choose. Another tip, is to make lots of large ones, then cut them to size once they're dry. Possible sizes to try: 38cm x 28cm, 28cm x 22xm & 22xm x 16cm
-
Create the wax mixture
Grate one cup of beeswax and put into your small pan or heatproof bowl. Add 1/2 cup of pine resin and one tablespoon of jojoba oil. To help your pine resin melt and distribute evenly, put it between two pieces of paper and give it a good whack with a rolling pin to create a powder.

-
Make a bain marie
Put your small pan (or bowl, or empty tin can, whichever you've decided to use) containing the wax mixture in into a larger saucepan half filled with boiling water. Put onto the hob and bring the water to a very gentle simmer.

-
Leave the wax to melt
It can take a while, particularly the pine resin, 20 minutes perhaps.

-
Prepare your baking tray
Heat your oven to 150 degrees celsius. Line your baking tray with a sheet of baking paper, then put your fabric on top.
-
Brush the fabric
Once the wax has melted, use a brush to cover the wrap lightly with the melted wax. Don't worry too much about covering the entire wrap, and don't add too much. You can come back and add more later.

-
Put into the oven
Leave in the oven for a couple of minutes, when you bring it out, the wax will be easier to brush, and you can move it around with your paint brush to make sure the fabric is evenly covered. Flip it over and give the other side a little brush too. If you think you need more wax, brush a bit more on, pop back in the oven and repeat. You can also use this method to revive some of your old wraps you might have.

-
Leave to dry
Using the string and a peg, create a little washing line and peg your wrap up to dry. It'll only take ten minutes or so, you be able to help yourself giving them a try!

-
Voila!
Once they're totally dry, fold, stack and tie a little ribbon around. And you're done. Any leftover wax can be poured into a heatproof jar, or you can pour into a silicon ice cube tray. You could even do this to create your own wrap kits...include a pastry brush, some pre-cut linen, baking paper, a little metal jug and a block of your homemade wax along with some handwritten instructions.
A few objects to help you get started...
Blog posts

WHY I don't believe in a perfect home (and what I believe in instead)
Perfect homes are everywhere online. But I don't believe in them. Here's what I believe in instead - and the five Instagram accounts that prove a lived-in home is always more beautiful.

A quiet return
